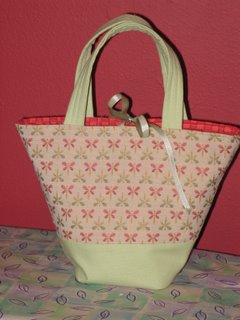
This tutorial is for a small bag perfect for gifting stitch markers, jewelry or to store your grandmother's favorite thimble, and the sky is the limit for size, embellishment and material. It's a great way to use up the little pieces fabric we all accumulate (too little to use and too big to throw away).
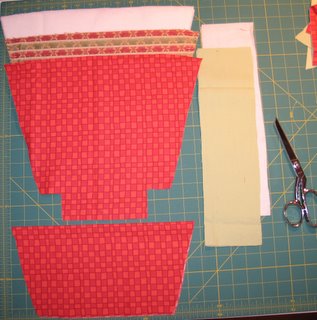
I started off with four pieces of fabric cut to 4"x5".

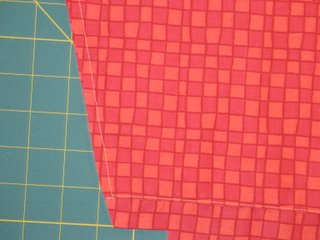
Place each pair right sides together and stitch around three sides, leaving one short side open. Trim the corners and excess fabric.

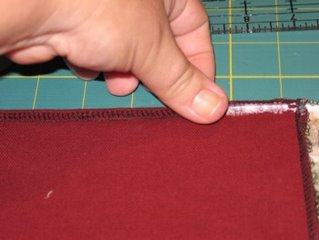
Turn one bag inside out and press it flat. Slip the turned bag into the unturned one, match side seams and raw edges and pin.

Starting in the center of one side stitch around the top and stop about 1 1/2 inches from where you started. Turn the whole thing inside out through that gap, which will give you something that looks like this.
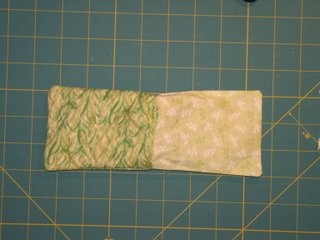
Fold the lining side into the outer side, and press flat. Slip stitch the gap closed.

If you are building a stash of these for gifting, this is a perfect place to stop. Applying the drawstrings and embellishments is a great 'anytime' project when you just want to do something creative.
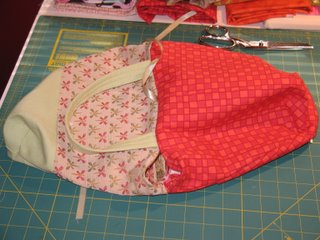
To finish, use a large needle threaded with your drawstring of choice, start at one side and stitch in 1/2" stitches around top of the bag (through both layers) until you are back to the beginning.

Repeat this process starting from the other side of the bag, so that you have two pairs of loose ends, one on each side of the bag. These will draw the bag closed.

Now you need a pair of pulls to open the bag. Re-thread you needle and take a short stitch under each side seam, this time going between the two layers - to hide the trick.
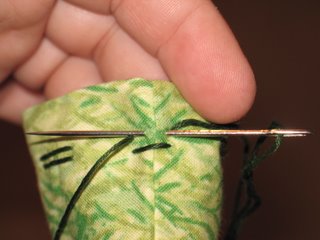
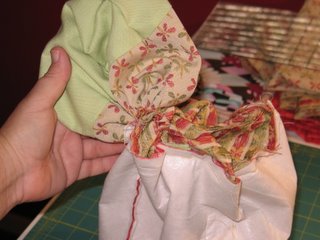
And, voila a bag! Now to embellish the ends of the ties. Beads are quick and easy, and will work well with embroidery thread or ribbon. Another way to finish off the ends is with a fabric flower. This works well with embroidery thread as a drawstring as the knotted ends become the stamen for the flower. Cut a 2"x4" strip of fabric, fold in half lengthwise and right sides together, and stitch down edge opposite fold. Turn the tube inside out (a turning tool helps tremendously), and then turn it again, but stop half way. Repeat. This will give you two tubes, raw edges at one end - I usually leave the 'wrong side' a little longer than the other, so I can see where to tie it off.

Slip the tube onto the loose ends of one pair of drawstrings, the raw edge should be closer to the ends of the drawstring and the folded edge toward the bag. Thread one of the drawstring ends onto your needle and stitch it through both layers of the tube (if your drawstring is too short, insert the needle through both layers and then thread). Slide the tube along this string to where you want it so stop. Take a small piece of embroidery thread and tie it around the raw ends of the tube firmly. Also tie the ends of the drawstring together, this will keep it from slipping off. Knot and trim the drawstring ends, and put a dot of Fray Check on all of the knots you just made and trim long ends from tie at base of flower.

Turn the finished edge toward the knotted drawstring ends, hiding the raw edges. The finished end will look like a bell shaped flower. Done! Experiment with fabrics, ties, beads, ribbon and cord. Above all have fun! And reduce that stash!

